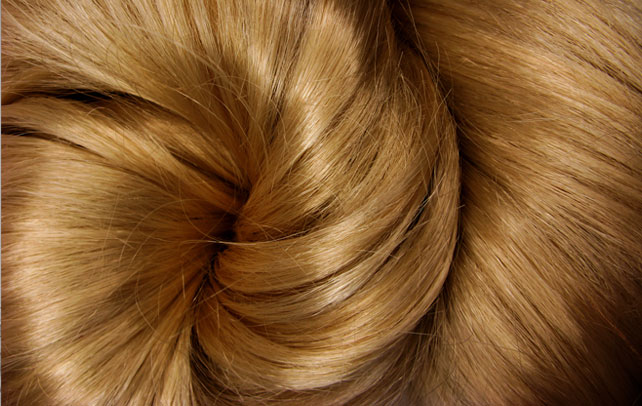
How To Do A Quick Weave

Quick weave has always been a popular hair styling method. It is a full head weaving technique where parts of hair are glued to a wave or a skull cap. It gives a foundation to the style, which is easily removable from the head. Quick weaves can help you achieve any look or style with any type of hair extension. It is actually a wig custom-made for you. You can choose from curly or straight hair to long or short hair. The hair can be all colored or a part of it being colored or you can use simple black shiny hair extension. And the best part is, it doesn’t matter what type of hair you have and it’s so easy that you can do it all by yourself. Just imagine all the styling possibilities you will have. So do whatever you have always wanted to do with your hair and bring out the style diva in you.
Step By Step Instructions On Quick Weave
Quick weaves make it possible for you to use any color or texture of weave you would like without trying to blend in your own hair. Here are the instructions for you to make a weave for yourself.
Things Required
- Two Wave Caps (skull cap)
- Paper Towel
- Bonding Glue
- A pair of Scissors
- Extension Hair
- Flat Iron
- Comb and Brush
Now use the following steps to learn how to quick weave so that you can have that perfectly “wow” look every time you step into the open.
Wash Your Hair Properly
Wash your hair properly using a shampoo that suits your hair type. Rinse off the shampoo well and then use a mild conditioner. Blow-dry your hair after washing. Shampoo-condition-dry is a three step cleaning method that you should always follow.
Brush Your Hair And Use The Hair Cap
Brush your hair and put a generous amount of heavy setting hair gel, such as Pro-Style to your hair. Make sure to apply enough gel on the hair line so that you are not left with loose strands or frizz. Sweep the hair onto the nape of your neck, make it one. Don’t forget to style your hair so that it lies completely flat and never comes out. Now cover your hair with a wave cap, make sure all your hair is covered well. Place the sheet of paper towel over the head cap and wear the other cap over it. This makes sure that your hair is not loosened from the head cap.
Placing The Hair Extension
Measure and cut the weave tracks and apply them starting from the nape of your neck, and going from ear to ear. Stop when you get to the crown of the head. Again starting from the front, measure, cut and apply the weave tracks going from ear to ear. Continue adding hair extensions until you get to the crown of your head. When you add the weaves just make sure to glue them in a circular pattern. If you do this correctly, you will be left with just a small circular patch at the crown of your head. You now need to make a closure of this part. Apply bonding glue to the underside of the hair extension, roll up the hair track and let it dry.
Use Flat Iron To Set The Hair
Now, separate the hair from the middle of the roll forming a closure piece for the circular patch which was left out. Using a hot flattening iron, clamp down the hair on the closure piece from the top. Glue the bottom of the closure using bonding glue and also apply it to the small space at the crown of your head. Press down for a few seconds to make sure it’s securely in place and without any kind of fuss.
Style As You Like
Finally, trim the extension hair and flaunt any hair style that you desire. With the style that you have so long wished for, go out and rock the party night.
Advantages Of Quick Weaves
- Gives your hair a much needed break from styling.
- Zero to low maintenance hairstyle.
- Fast and easy styling option.
- Easy to take down when you are ready to move on to a new style.
- Fully customizable with many possible variations.
- Cost effective way.
Women always long for perfection. Using that to your advantage, know what hairstyle will complement your face cut. Follow the above mentioned instructions to make a quick weave and go forth with the perfect look of your hair. Let style statement be your forte.


